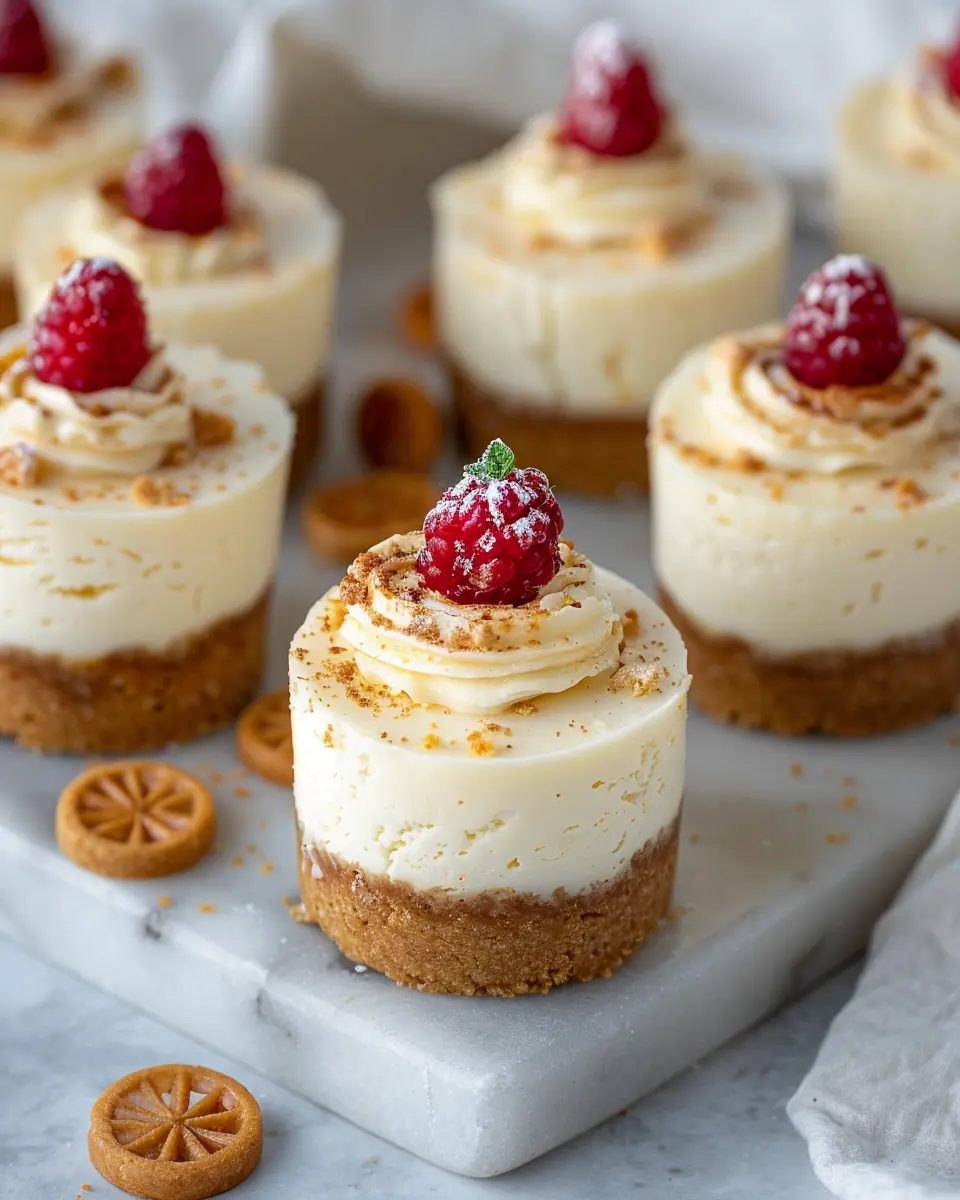
Introduction to Cheesecake Cups Recipe
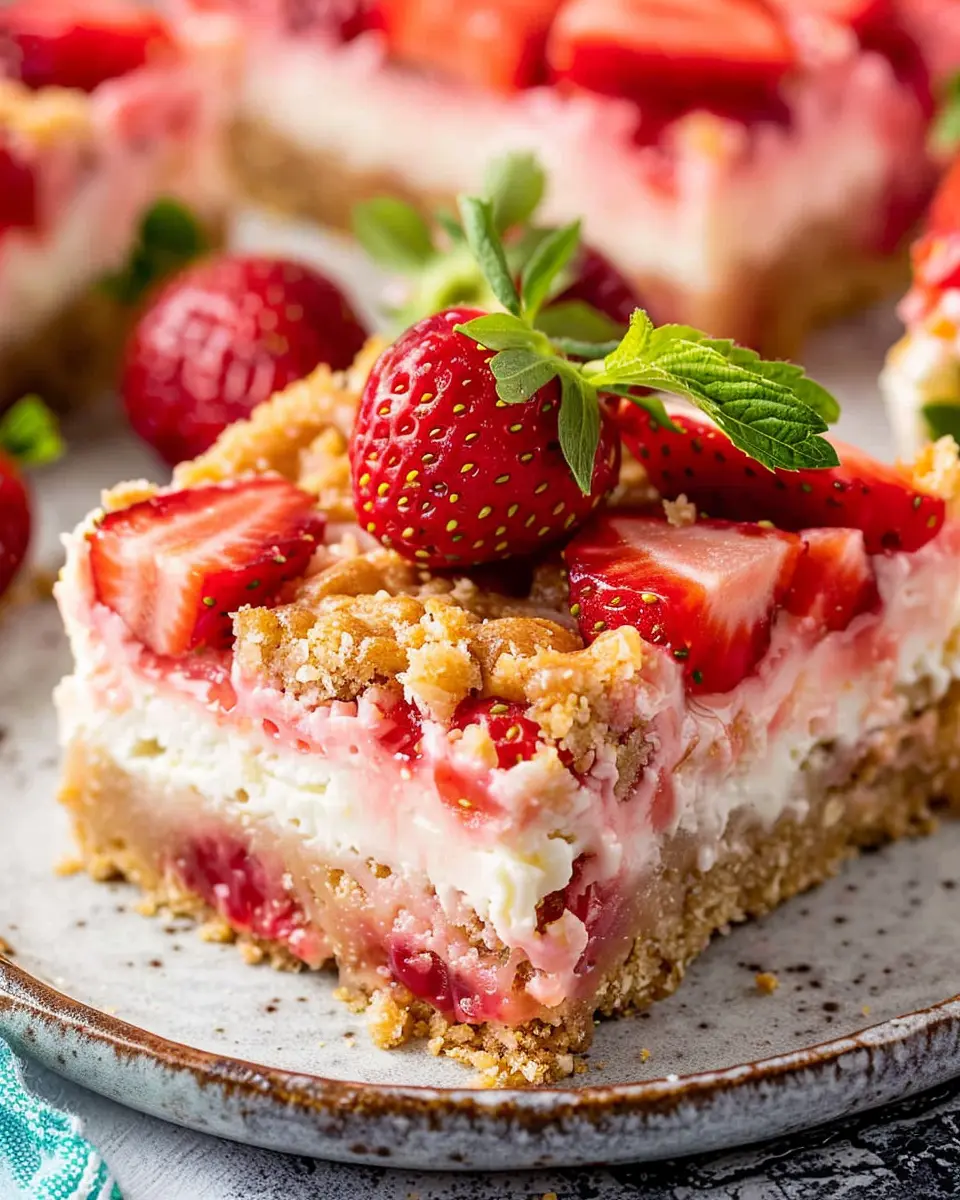
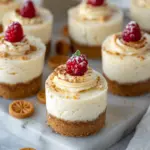
If you’re looking for an easy yet scrumptious dessert to impress your friends or treat yourself, then cheesecake cups might just be your new favorite indulgence. These delightful little servings pack the rich, creamy flavor of traditional cheesecake into portable cups, making them the perfect handheld treat. Imagine a velvety cheesecake layered with fresh fruit, graham cracker crumbs, and your favorite toppings—all served in a delightful, personal-sized portion!
Why cheesecake cups are the perfect homemade treat
One major perk of cheesecake cups is their versatility. You can customize them to suit any occasion or personal preference. Whether you’re a fan of classic flavors like vanilla and strawberry or want to explore more adventurous combinations like matcha or chocolate hazelnut, the options are almost limitless. This flexibility is ideal for gatherings, potlucks, or even quiet nights at home.
Not only are they versatile, but presentation is a breeze. Using clear dessert cups lets all those delicious layers shine through, making your dessert visually enticing. Plus, serving them in cups makes it easy for your guests to grab and enjoy without fussing with a fork and plate.
Moreover, cheesecake cups can be prepared ahead of time, freeing you up for other culinary adventures or entertaining. Just whip up your cheesecake filling, layer it with your chosen base and toppings, then let them chill in the fridge until you’re ready to serve. Easy peasy!
From a nutritional standpoint, cheesecake cups can also cater to various dietary needs. By substituting ingredients or adjusting portion sizes, you can create a dessert that satisfies your sweet tooth without derailing your health goals. Curious about how to adapt recipes? Resources like the Academy of Nutrition and Dietetics offer helpful insights.
In summary, cheesecake cups are a fun, versatile, and approachable dessert that anyone can master. As you embark on this delicious culinary journey, remember that the most enjoyable recipes allow for creativity and personalization. Now, let’s dive into this delightful Cheesecake Cups Recipe!

Ingredients for Cheesecake Cups
Creating delightful cheesecake cups is easier than you might think! Here’s a handy list of ingredients you’ll need for this Cheesecake Cups Recipe that’s perfect for gatherings or a cozy night in.
For the Crust
- Graham Crackers: About 1 cup, crushed. These will provide that classic cheesecake crunch.
- Sugar: Just a couple of tablespoons to sweeten the deal.
- Butter: Melted, to bind everything together—around 4 tablespoons works great.
For the Cheesecake Filling
- Cream Cheese: 8 ounces, softened—this is the star of the show!
- Sour Cream: ½ cup for added creaminess and that signature tang.
- Powdered Sugar: ½ cup for a light sweetness.
- Vanilla Extract: 1 teaspoon to enhance the flavors.
Optional Toppings
- Fresh fruit, such as strawberries or blueberries, for a fresh burst.
- Whipped cream, if you’re feeling indulgent!
With just these few ingredients, you’ll create an irresistible treat that everyone will love. If you’re curious about flavor variations, check out this article for some creative twists! Plus, try to gather the ingredients ahead of time to streamline your baking experience. Happy baking!
Preparing Cheesecake Cups
Creating delightful cheesecake cups is not just a treat for your taste buds, but it’s also an incredibly fun kitchen project that’s perfect for young professionals looking to impress guests or simply indulge in a creamy dessert. Let’s dive into the sweet and satisfying process of preparing these delectable bites!
Gather Your Ingredients
Before you roll up your sleeves, it’s essential to have everything you need on hand. The better the prep, the smoother the process. For our cheesecake cups recipe, you’ll need the following:
-
For the Gingerbread Crust:
-
1 cup gingerbread cookies (crushed)
-
4 tablespoons unsalted butter (melted)
-
For the Creamy Filling:
-
12 ounces cream cheese (softened)
-
1 cup powdered sugar
-
1 teaspoon vanilla extract
-
1 cup heavy whipping cream (chilled)
-
Toppings (optional):
-
Fresh fruit (strawberries, blueberries, or raspberries)
-
Chocolate shavings
-
Additional crushed gingerbread for garnish
Having these ingredients ready will save you time and make your cooking experience so much more enjoyable. Don’t forget to check out this helpful guide on cream cheese for tips on how to choose the best quality!
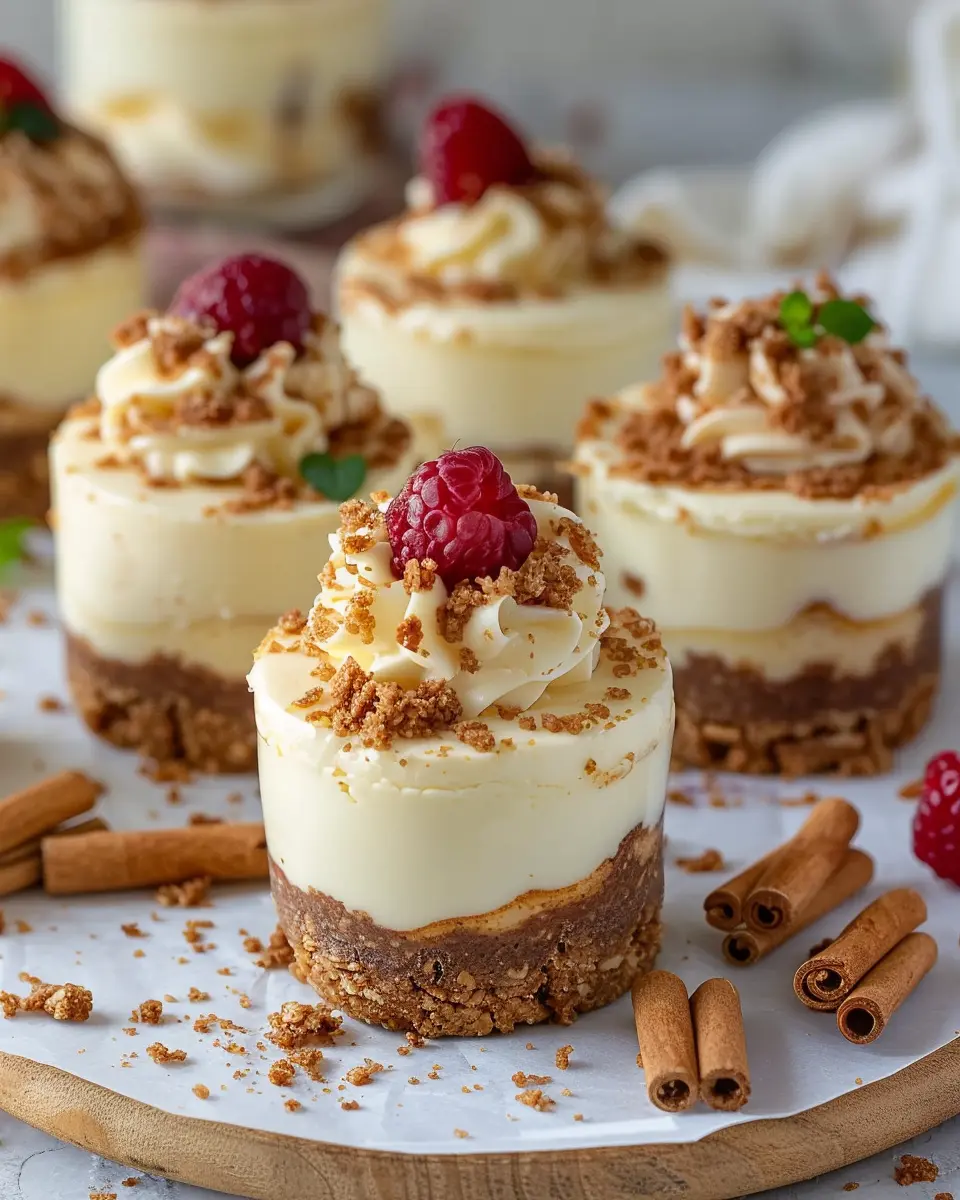
Create the Gingerbread Crust
The crust is a fundamental component of your cheesecake cups, adding a crunchy contrast to the creamy filling. Here’s how to whip it up:
-
Crush the Cookies: In a medium bowl, combine your crushed gingerbread cookies with the melted butter. Mix them until the crumbs are well-coated.
-
Shape the Crust: Using muffin tins or individual serving glasses, press about a tablespoon of the mixture into the bottom of each cup. Make sure it packs down well to form a solid base.
-
Bake: If you wish to enhance the flavor, you can bake the crust for about 5-7 minutes at 350°F (180°C). Let it cool completely before adding the filling – trust me, this is key!
Mix the Creamy Filling
Now for the best part – the creamy filling! This is where your cheesecake cups will truly shine.
-
Blend the Ingredients: In a large mixing bowl, beat the softened cream cheese until smooth. Gradually add in the powdered sugar and vanilla extract, mixing until it’s perfectly blended.
-
Add Whipped Cream: In a separate bowl, whip the chilled heavy cream until soft peaks form. Gently fold the whipped cream into the cream cheese mixture. This technique is crucial – it gives your cheesecake cups that lovely, airy texture!
Assemble the Cheesecake Cups
With your crust and filling prepared, it’s time to bring them together.
-
Layer the Cups: Spoon the creamy filling over the cooled gingerbread crust in each cup. You can even use a piping bag for a more professional presentation.
-
Top It Off: If you’re feeling creative, now’s the time to add fresh fruits, chocolate shavings, or a sprinkle more of crushed gingerbread on top.
Chill to Perfection
Patience is key when it comes to desserts! To achieve that firm yet creamy texture, place your assembled cups in the refrigerator.
- Chill Time: Allow them to chill for at least 3-4 hours, or preferably overnight. This will help the flavors meld beautifully and ensure the filling sets properly.
Once chilled, you’re all set to wow your guests or simply treat yourself! The cheesecake cups recipe is not only easy to follow but leaves you with a delightful dessert that’s sure to impress. Enjoy every creamy, delicious bite!
Variations on Cheesecake Cups
When it comes to a delightful cheesecake cups recipe, the possibilities are nearly endless! These little treats can be customized to match your mood or special occasions. Let’s explore a couple of variations that will impress your friends and satisfy your cravings.
Seasonal Fruit Cheesecake Cups
Imagine digging into a refreshing cheesecake cup adorned with vibrant seasonal fruits. This variation is perfect for showcasing flavors like strawberries in spring, peaches in summer, or pumpkin in fall. Simply layer the creamy cheesecake mixture with crushed graham crackers and top with your favorite fruits. For an extra burst of flavor, drizzle a little honey or a citrus syrup over the top. Don’t forget to check out this fruit topping guide for more ideas!
- Spring/Summer: Strawberries, blueberries, or mango
- Fall: Apple slices or pumpkin puree
- Winter: Citrus fruits like oranges or grapefruits
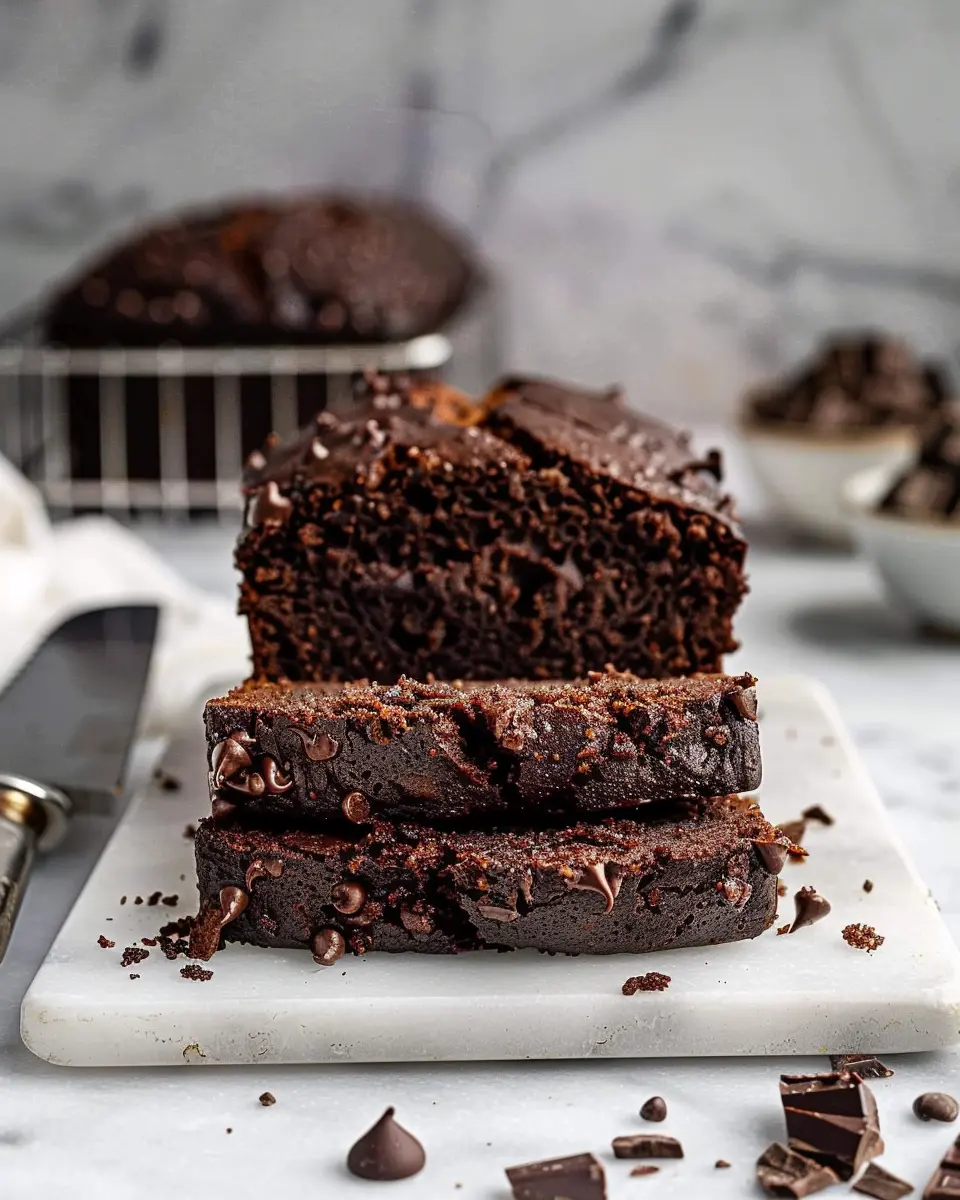
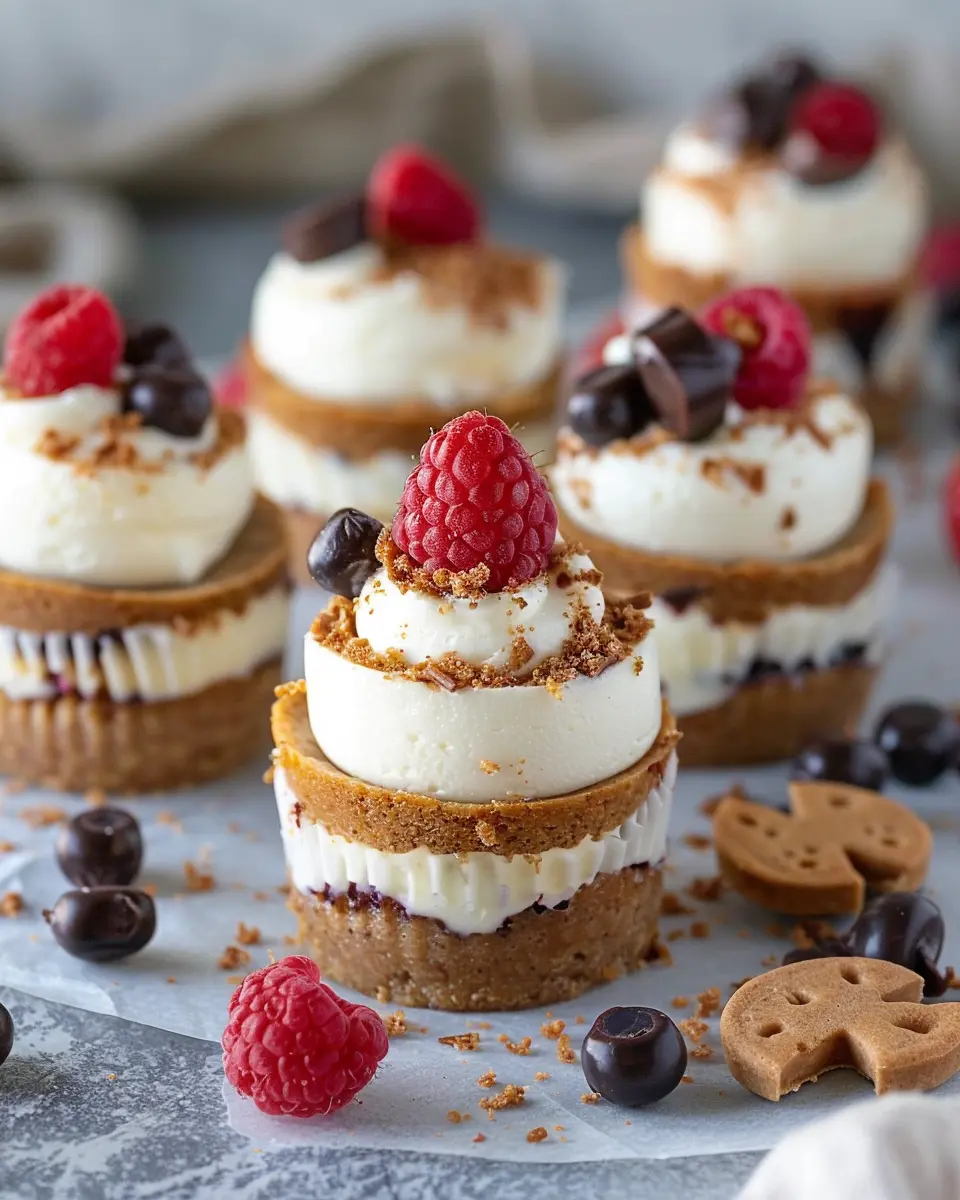
Chocolate Lovers Cheesecake Cups
For those who can’t resist chocolate, this variation takes a classic cheesecake cups recipe and elevates it to new heights. Mix cocoa powder into the cheesecake batter or use melted chocolate to create a rich chocolate filling. Layer with chocolate cookie crumbs instead of graham crackers, and top with whipped cream and chocolate shavings. This indulgent treat is sure to satisfy even the strongest chocolate cravings. Explore more about chocolate pairing on this chocolate lover’s blog.
- Chocolate Options: Dark chocolate, milk chocolate, or white chocolate
- Toppings: Chocolate sauce, coffee beans, or sprinkles
Feel free to experiment and let your creativity shine! These variations are just starting points to transform your cheesecake cups into something spectacular. Happy baking!
Baking Notes for Cheesecake Cups
When diving into the delightful world of a Cheesecake Cups Recipe, a few key tips can elevate your dessert game. Here are some baking insights that will ensure your cheesecake cups come out perfectly every time.
-
Room Temperature Ingredients: Always start with cream cheese and eggs at room temperature. This simple step helps achieve a smoother filling, reducing lumps and creating that creamy texture you crave.
-
No Overmixing: While mixing your batter, be gentle. Overmixing can introduce air, which might lead to cracks during baking. Mix just until combined for the best results.
-
Chilling Time is Key: Patience is key! Chill your cheesecake cups for at least four hours or overnight. This not only sets them perfectly but also allows flavors to meld beautifully.
-
Creative Toppings: Get creative with toppings! Fresh fruit, chocolate drizzle, or even caramel can add a lovely touch. Check out some ideas for toppings at The Kitchn.
By keeping these notes in mind, you’re on your way to mastering your own Cheesecake Cups. Happy baking!
Serving Suggestions for Cheesecake Cups
When diving into your Cheesecake Cups Recipe, the serving suggestions can truly elevate your dessert experience! These delightful little cups offer endless possibilities for customization, making them ideal for any occasion.
Garnish for Visual Appeal
Start by adding a touch of flair with toppings. Fresh fruits like berries, sliced mango, or kiwi enhance both the look and the flavor. Consider drizzling chocolate sauce or a caramel glaze for that extra sweetness. A dollop of whipped cream or a sprinkle of toasted coconut can add an impressive finish that will wow your guests.
Pairing Ideas for Perfect Matches
Don’t stop at just garnishing! For a balanced dessert, pair your cheesecake cups with a refreshing drink. I recommend a nice herbal tea or homemade lemonade. It’s perfect to cleanse the palate between bites.
Serving Occasion
These Cheesecake Cups are versatile enough for casual get-togethers or more formal events. For an informal gathering, serve them in vibrant cups; for a classy affair, opt for elegant glassware. They can cater to various themes—from summer parties to festive celebrations.
Incorporating these serving suggestions can turn your cheesecake cups into a memorable highlight that will keep your friends coming back for more! For even more delightful dessert ideas, check out resources like BBC Good Food and Epicurious.
Tips for Making Perfect Cheesecake Cups
Creating delightful cheesecake cups is a rewarding experience, especially when you know a few essential tips to make them just right!
Choose the Right Ingredients
Start with high-quality cream cheese—it’s the heart of your cheesecake. Opt for full-fat for that rich flavor and creamy texture. Don’t forget to use fresh and organic ingredients when possible, as they can significantly elevate your dessert.
For the base, crushed graham crackers are a classic choice. You could even experiment with alternatives like crushed Oreos or gluten-free cookies for a unique twist.
Balance Sweetness
Finding that perfect balance of sweetness is crucial. I recommend taste-testing your cheesecake mixture before adding more sugar. You might find that adding a hint of lemon juice or zest can brighten the flavor without overpowering the sweetness.
Layering Your Cups
When assembling your cheesecake cups, start with a layer of your cookie base, followed by the cheesecake filling. Top with your favorite fruits or a berry compote for color and extra flavor. A fun idea? Consider using a piping bag for a more elegant presentation!
Chill Before Serving
Patience is key! Allowing the cheesecake cups to chill for several hours, or even overnight, will enhance the flavors and help the mixture set properly. Trust me, the wait is worth it!
For more tips and creative ideas, check out renowned dessert blogs like Sally’s Baking Addiction or Joy of Baking to expand your culinary repertoire. Happy baking!
Time Details for Cheesecake Cups
Preparation Time
Getting started with your Cheesecake Cups Recipe is a breeze! You’ll need about 20 minutes to whip up the filling and assemble the crust. Whether you’re measuring out the cream cheese or crumbling graham crackers, just put on some good tunes or your favorite podcast to make the process enjoyable.
Chilling Time
Once you’ve created your little cups of goodness, they need time to chill. Aim for at least 3 hours in the refrigerator. This is the perfect time to unwind, maybe catch up on a show, or even plan for your next culinary adventure.
Total Time
In total, you’re looking at about 3 hours and 20 minutes from start to finish. It’s a small time investment for a delicious dessert that will impress your friends or elevate your next potluck. Plus, you’ll have some fun in the kitchen creating a treat that’s sure to be a crowd-pleaser!
For more insights on cheesecake and its variations, check out resources on Nutritional Guidance to keep your indulgences balanced.
Nutritional Information for Cheesecake Cups
When diving into the delightful world of Cheesecake Cups, understanding the nutritional profile can enhance your enjoyment of this creamy treat. Let’s break it down!
Calories per serving
Each Cheesecake Cup packs approximately 250 calories. This makes it a satisfying dessert that won’t completely derail your healthy eating goals. Perfect for an indulgent evening treat without the guilt!
Sugar content
With about 15 grams of sugar per serving, these cups do have a sweet side. Using ingredients like fresh fruits or a sugar substitute can help lower this number if you’re watching your sugar intake.
To explore more about how desserts can fit into your diet, check sources like the American Heart Association or the Nutrition.gov for healthy eating tips. Enjoy your creamy Cheesecake Cups while keeping mindful of your nutritional choices!
FAQs about Cheesecake Cups
Can I make these cheesecake cups ahead of time?
Absolutely! One of the best features of this Cheesecake Cups Recipe is how convenient it is for meal prepping. You can prepare your cheesecake cups a day or two in advance. Just store them in the fridge, covered, until you’re ready to serve. This not only allows the flavors to meld but also takes the stress off your shoulders when it’s time for dessert. Just remember to add any toppings just before serving to keep them fresh and prevent sogginess.
What can I use instead of gingerbread crumbs?
If gingerbread crumbs aren’t your thing or if they’re hard to find, don’t worry! You can easily swap them out for traditional graham cracker crumbs, digestive biscuits, or even crushed cookies like Oreos for a chocolatey twist. The key is to achieve that delightful crunch, so feel free to experiment with what you have on hand. Check out sources like Bon Appétit for inspiration on alternative crusts!
How do I keep my cheesecake cups from leaking?
To keep your cheesecake cups from leaking, ensure you use sturdy cups and don’t overfill them. A good rule of thumb is to fill them about three-quarters full. Also, let your cheesecake mixture set in the fridge for at least a couple of hours before serving, allowing it to firm up. If you’re concerned about spills during transport, consider placing them in a shallow tray for added stability.
With these tips in mind, you’re on your way to mastering the art of cheesecake cups!
Conclusion on Cheesecake Cups Recipe
In summary, the Cheesecake Cups Recipe is a delightful way to bring a classic dessert to your table in a fun and shareable format. Perfect for gatherings or just a cozy night in, these individual portions let everyone indulge without the hassle of slicing a whole cheesecake. Plus, you can personalize each cup with your favorite toppings — perhaps fresh fruit, nuts, or even chocolate sauce to take it up a notch.
So, gather your ingredients, showcase your skills, and impress your friends with this deliciously simple treat. Whether it’s a special occasion or a sweet craving, these cheesecake cups are sure to be a hit! For more inspiration on easy desserts, check out resources like the Food Network or Allrecipes for new ideas.
PrintCheesecake Cups Recipe: Easy Indulgence for Every Occasion
Delight in these easy and delicious cheesecake cups that are perfect for any celebration or a simple treat.
- Prep Time: 20 minutes
- Total Time: 2 hours 20 minutes
- Yield: 6 servings 1x
- Category: Dessert
- Method: No-bake
- Cuisine: American
- Diet: Vegetarian
Ingredients
- 1 cup cream cheese
- 1/2 cup sugar
- 1 teaspoon vanilla extract
- 1 cup whipped cream
- 1/2 cup graham cracker crumbs
- 1/4 cup melted butter
- 1/2 cup fresh fruit (optional)
Instructions
- In a mixing bowl, beat the cream cheese until smooth.
- Add sugar and vanilla, mixing until well combined.
- Fold in the whipped cream gently.
- In another bowl, mix graham cracker crumbs with melted butter.
- Layer the crumbs at the bottom of serving cups.
- Top with the cheesecake mixture.
- Chill for at least 2 hours before serving.
- Garnish with fresh fruit if desired.
Notes
- For a chocolate version, add cocoa powder to the cheesecake mixture.
- Use different fruits for varied flavors.
Nutrition
- Serving Size: 1 cup
- Calories: 200
- Sugar: 15g
- Sodium: 150mg
- Fat: 12g
- Saturated Fat: 7g
- Unsaturated Fat: 3g
- Trans Fat: 0g
- Carbohydrates: 20g
- Fiber: 1g
- Protein: 3g
- Cholesterol: 30mg
Keywords: Cheesecake, Dessert, No-bake, Easy Recipes