Introduction to Apple Bars
When it comes to satisfying your sweet cravings without derailing your healthy eating goals, homemade apple bars shine brightly as the perfect solution. These delicious snacks not only deliver a burst of flavor but also pack a nutritional punch. Made primarily with fresh apples, oats, and wholesome ingredients, they are an excellent choice for both kids and adults alike.
Why Homemade Apple Bars Are a Perfect Snack?
Think about your usual snack options—chips, sugary protein bars, or those lure-you-in donuts. Now imagine having something that feels just as indulgent, but is crafted with love and healthy ingredients. This is where apple bars come in. They provide a delicious balance of sweetness, fiber, and essential nutrients.
-
Quick to Prepare: Homemade apple bars can be whipped up in no time. With just a few steps and minimal prep work, you can enjoy a fresh batch, making them an ideal snack for busy young professionals.
-
Nutritious Boost: Apples are rich in dietary fiber and vitamin C, making them a vital ingredient in keeping you energized throughout the day. Incorporating oats adds additional fiber, which is beneficial for digestion.
-
Versatility: Whether you want something to munch on during your 3 p.m. slump or to pack for your outdoor adventures, apple bars fit the bill perfectly. You can tweak the recipe to suit your taste—add nuts, use a different type of sweetener, or even throw in some dried fruits.
-
Kid-Friendly: If you have kids, these bars serve as a great way to get them intrigued in the kitchen and enjoying wholesome snacks. Plus, who doesn’t love the smell of baking apples wafting through the house?
To make these bars even more delightful, you can consider pairing them with a warm cup of herbal tea or coffee, allowing you to relish each bite while unwinding. For some tips on apple varieties best suited for baking, check out this resource from the U.S. Apple Association.
In summary, homemade apple bars are not just snacks; they’re bites of joy that contribute to a healthier lifestyle while tantalizing your taste buds. What’s better than that?
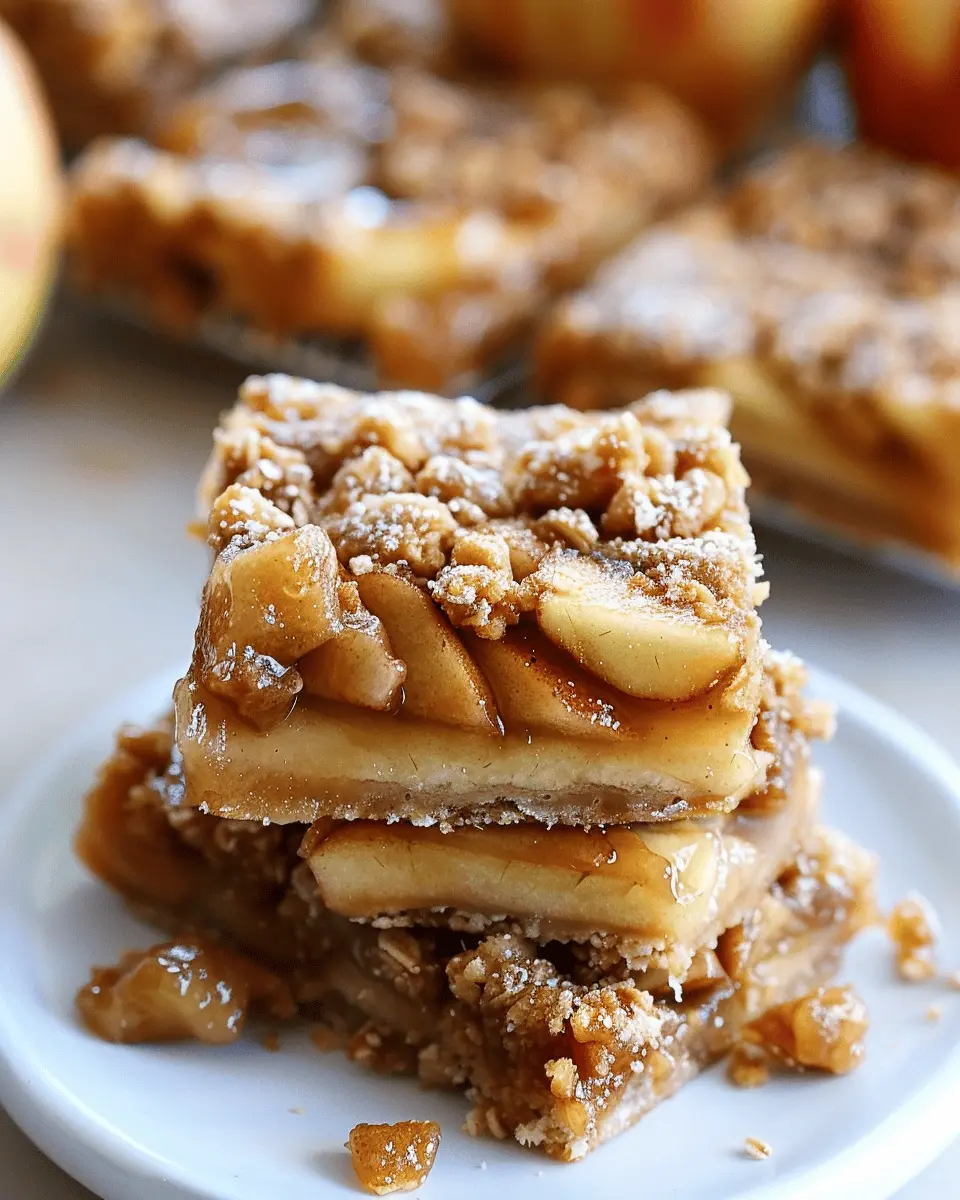
Ingredients for Apple Bars
When it comes to crafting delightful apple bars, having the right ingredients makes all the difference. These bars are not just a delicious dessert; they also carry that comforting aroma of baked apples and spices, tempting you to grab one fresh out of the oven. Here’s what you’ll need to bring this culinary delight to life:
- Fresh Apples: About 3 cups of peeled and diced apples work best. Varieties like Granny Smith or Honeycrisp provide a perfect balance of tartness and sweetness.
- Basic Baking Essentials: You’ll need 1 cup of all-purpose flour, 1/2 cup of sugar, and a teaspoon of baking powder. These staples form the backbone of your bars.
- Spices: Don’t forget 1 teaspoon of cinnamon and 1/2 teaspoon of nutmeg to elevate those warm flavors.
- Eggs and Butter: Two large eggs and 1/2 cup of melted butter add moisture and richness.
- Walnuts or Pecans (optional): If you like a little crunch, toss in 1/2 cup of chopped nuts for texture.
For more baking insights, check out Joy of Baking for tips on selecting the best apples for baking!
Preparing Apple Bars
Baking can often feel overwhelming, but with a solid recipe and a bit of guidance, you’ll be whipping up delicious apple bars in no time! Let’s dive into the steps one by one and make this cooking adventure enjoyable.
Gather your ingredients
Before you start blending flavors and textures together, it’s essential to have everything at your fingertips. Here’s a handy list of ingredients to gather:
-
For the crust:
-
2 cups all-purpose flour
-
1 cup cold butter, cut into cubes (or a vegan alternative)
-
½ cup sugar
-
1 teaspoon vanilla extract
-
A pinch of salt
-
For the apple filling:
-
4 medium apples, peeled, cored, and sliced (Granny Smith or Honeycrisp works magic)
-
¾ cup sugar
-
1 teaspoon cinnamon
-
2 tablespoons lemon juice
-
1 tablespoon cornstarch (to help thicken the filling)
Make sure to check your pantry to avoid last-minute dashes to the grocery store—those can be a recipe for disaster if you are already in a baking mood!
Make the crust mixture
Once you have all your ingredients, it’s time to create the base of your apple bars! Follow these steps:
- In a large mixing bowl, combine the flour, sugar, and salt. Stir it well, so the ingredients meld together.
- Add in the cold butter cubes. Use a pastry cutter, fork, or your hands to mix until the mixture resembles coarse crumbs. It’s okay if some larger pieces remain.
- Finally, add in the vanilla extract and mix until the dough just comes together. You’ll want it to be cohesive but not overworked!
Bake the crust
Now, let’s get that crust started! Preheat your oven to 350°F (175°C) for optimal baking conditions. Here’s how to bake it:
- Press half of the crust mixture firmly into the bottom of a greased 9×13-inch baking dish, creating an even layer.
- Bake it for about 15 minutes or until it’s just starting to turn golden. This initial baking will provide a solid foundation for your luscious filling.
Prepare the apple filling
While your crust is baking, it’s the perfect time to whip up your fragrant apple filling. A delightful aroma will start wafting through your kitchen! Here’s what to do:
- In a large bowl, toss the sliced apples with the sugar, cinnamon, lemon juice, and cornstarch.
- Allow the mixture to sit for about 10 minutes. This resting time lets the flavors blend beautifully while the sugar draws out the apples’ natural juices!
Assemble the apple bars
With your crust baked and the filling prepped, it’s time to put it all together. This is where the magic happens!
- Remove the crust from the oven and let it cool slightly.
- Spread the prepared apple filling evenly over the crust, ensuring every corner is covered.
- Crumble the remaining crust mixture on top of the apple filling evenly. This will create a lovely, crumbly topping.
Bake until golden and bubbly
The final step of your apple bars adventure is baking them to perfection! Here’s how:
- Place the assembled dish back in the oven and bake for another 30-35 minutes.
- Look for a golden, bubbly topping. Remember, an ounce of patience goes a long way—let it cool slightly before slicing!
Baking apple bars is a delightful way to engage your senses, and with the right approach, you’ll impress friends and family alike. For more baking tips, check out resources like King Arthur Baking or Food Network. Happy baking!
Variations on Apple Bars
There’s something wonderfully nostalgic about apple bars. They’re not just a delicious treat; they offer a canvas for creativity in your kitchen! If you’re looking to switch things up, consider these two delightful variations that will keep everyone coming back for seconds.
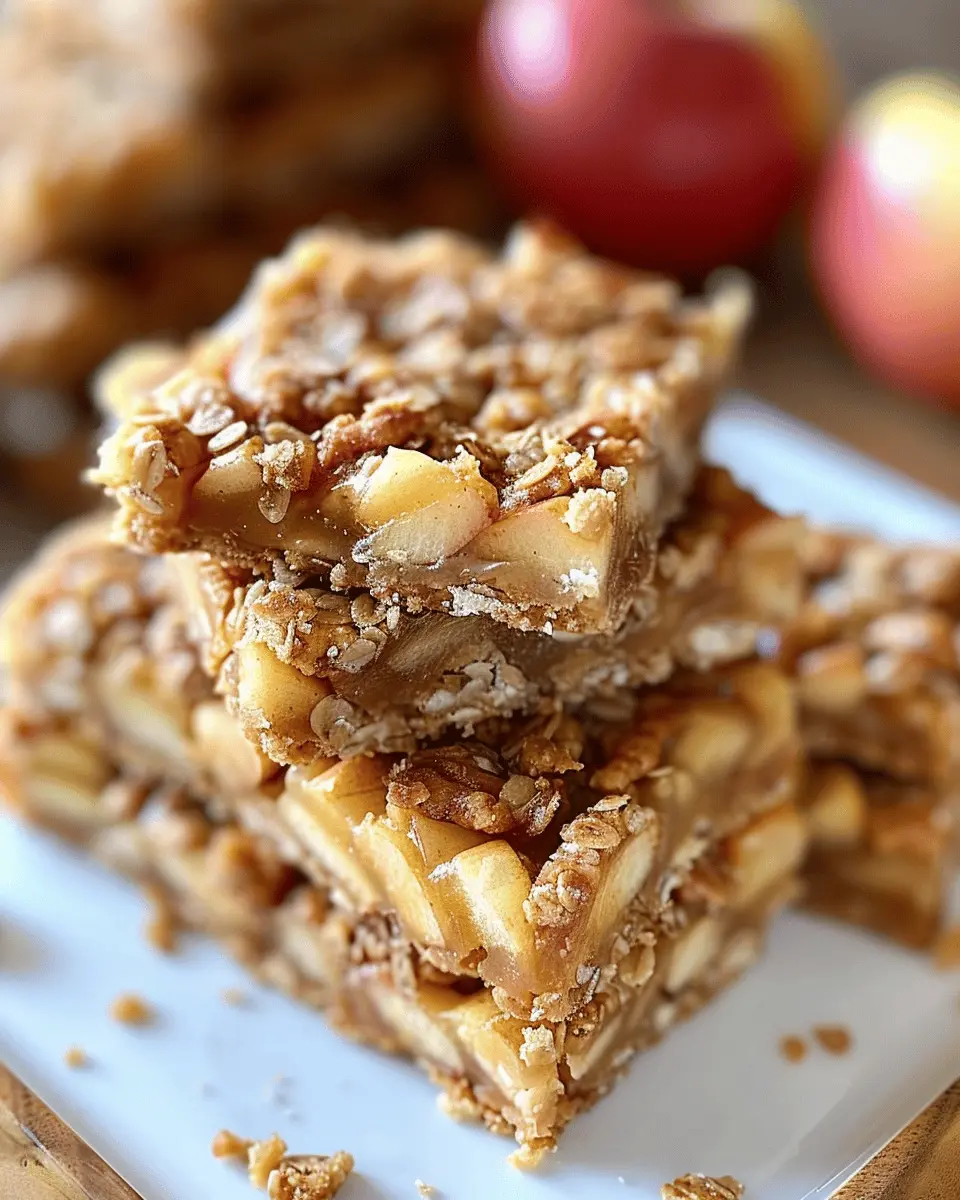
Apple Cinnamon Nut Bars
Imagine biting into a cozy dessert that combines the warmth of cinnamon with the crunch of nuts—this is what apple cinnamon nut bars bring to the table! Here’s how to make them:
- Ingredients: Beyond the basic apple bar recipe, add chopped walnuts or pecans for texture and flavor.
- Instructions: Incorporate cinnamon into the dough and sprinkle more on top before baking. The nutty aroma along with the baked apples creates a beautiful marriage of flavors.
These bars are perfect for an afternoon snack or a sweet addition to your next brunch. You can learn more about using nuts in desserts from sources like the American Heart Association.
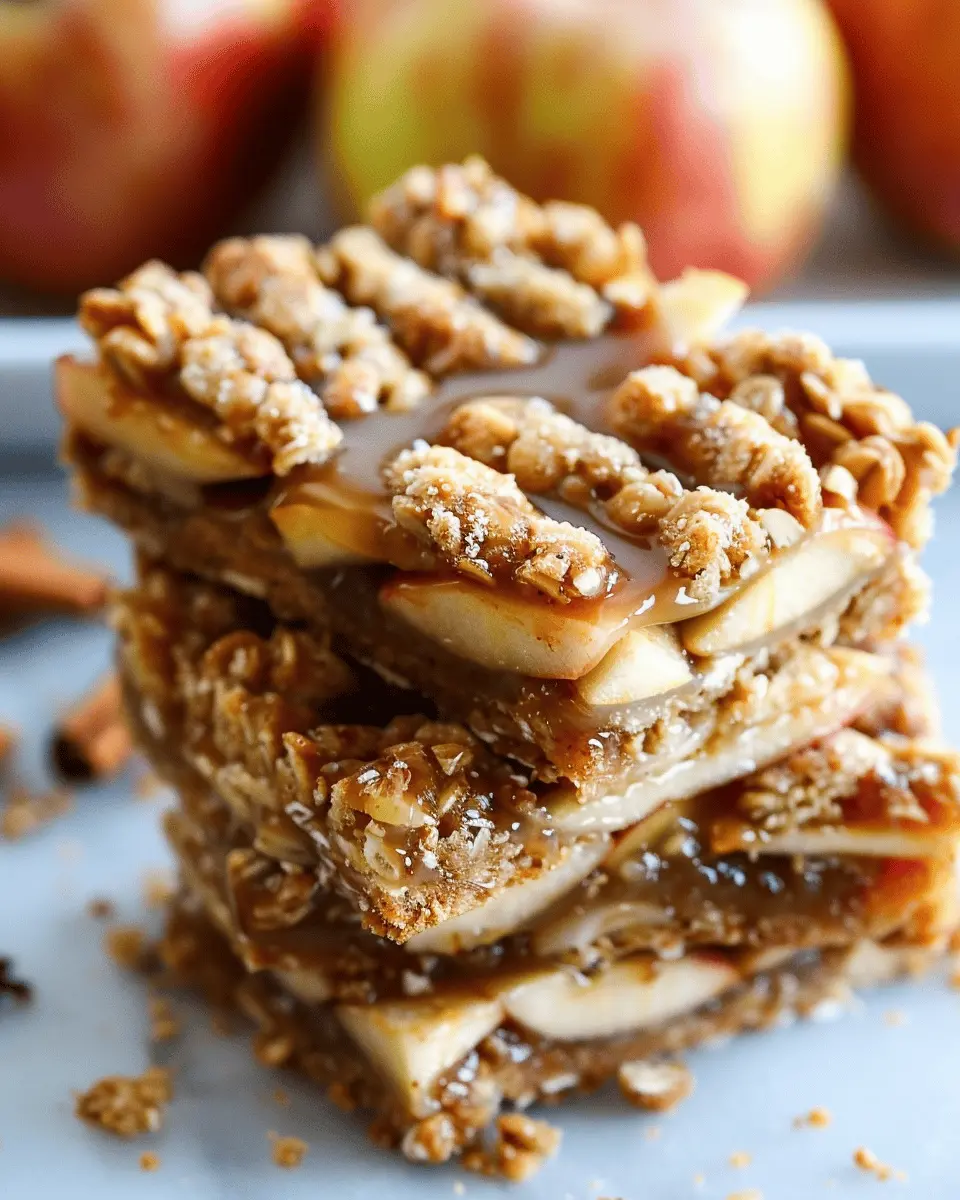
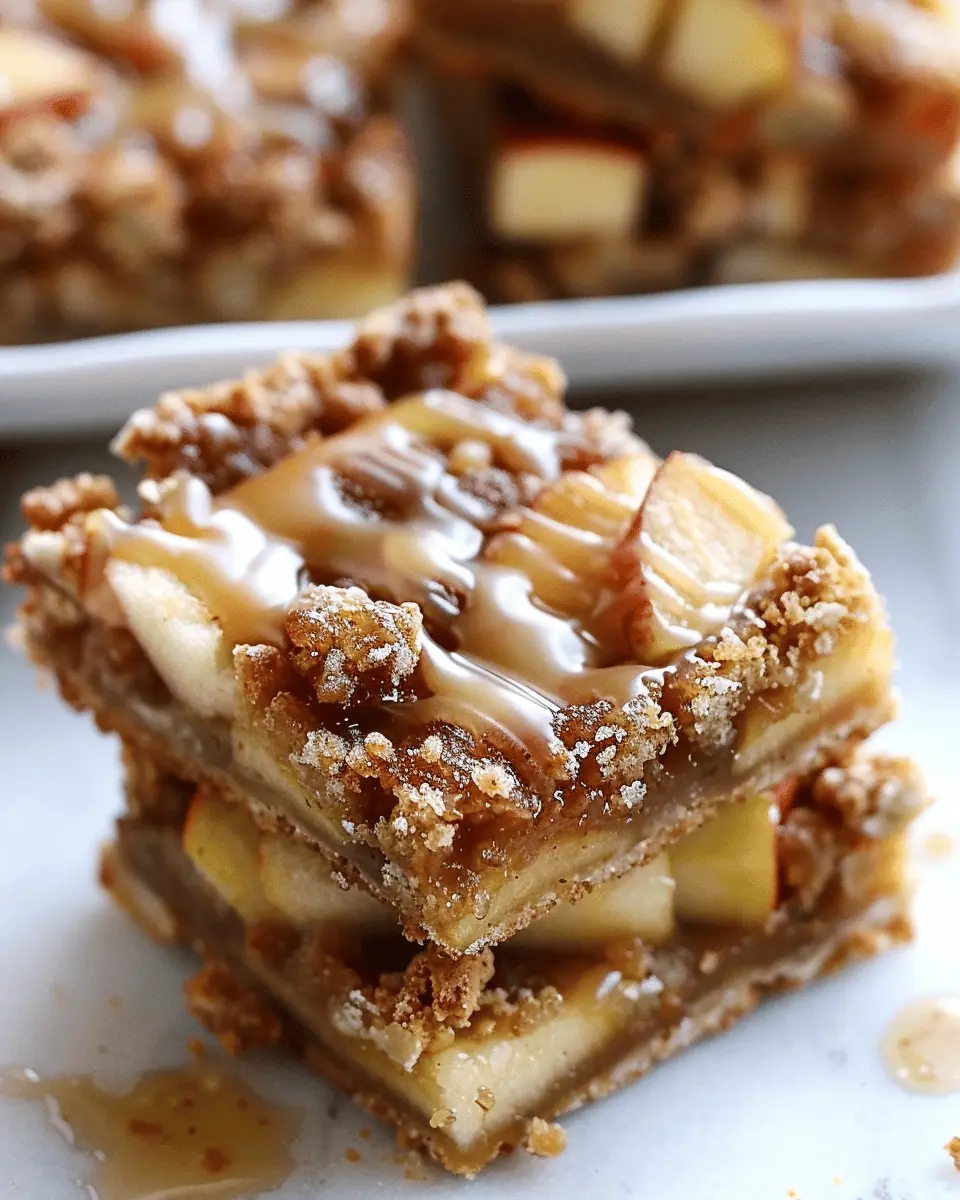
Caramel Apple Bars
If you have a sweet tooth, caramel apple bars are your new best friend! The luscious layer of caramel over spiced apples makes for an indulgent treat.
- Ingredients: In addition to the standard apple filling, prepare some store-bought or homemade caramel sauce to drizzle on top.
- Instructions: Once your apple bars are baked, drizzle warm caramel over them. It adds a rich, gooey texture that pairs perfectly with the apples.
These bars are ideal for sharing at gatherings or as a comforting after-dinner dessert. For tips on pairing flavors, check out insights from Food Network.
Try these variations and elevate your apple bars game! With just a few tweaks, you can create a nostalgic yet exciting dessert that everyone will love.
Cooking Tips and Notes for Apple Bars
When baking apple bars, a few tips can elevate your game. First, choose the right apples! Granny Smith and Honeycrisp provide the perfect balance of tartness and sweetness. This blend will keep your apple bars flavorful rather than overly sweet.
You’ll want to ensure your apples are peeled and diced evenly for a consistent bake. Not only does this make for a better texture, but it also aids in flavor distribution. If you’re looking for a little crunch, consider adding nuts like walnuts or pecans. They add delightful texture and a nutritional boost!
For an extra twist, try incorporating a dash of cinnamon or nutmeg into your apple filling — these spices work wonderfully with apples. Remember to let your apple bars cool completely before slicing; this will prevent them from falling apart and keep your presentation looking heavenly.
Need more inspiration or techniques? Check out this wonderful baking guide for expert tips! Happy baking!
Serving suggestions for Apple Bars
When it comes to serving apple bars, think beyond the standard dessert plate. Creative presentations can elevate your dish from simply good to utterly irresistible. Here are some delightful serving suggestions to consider:
Pair with Whipped Cream or Ice Cream
A scoop of vanilla ice cream or a dollop of whipped cream can add a creamy contrast that pairs beautifully with the spiced flavors of your apple bars. The warmth of the bars combined with the coldness of the topping creates a delightful experience.
Enhance with Fresh Fruits
Serving your apple bars alongside a medley of fresh fruits, such as sliced strawberries or blueberries, not only adds a pop of color but also a refreshing taste. The combination enhances the apple flavor while providing a healthier balance.
Drizzle with Caramel Sauce
For those with a sweet tooth, a light drizzle of warm caramel sauce over the top makes for an indulgent treat. This simple addition can transform your apple bars into a gourmet dessert.
Create a Fun Brunch Platter
Consider serving apple bars as part of a brunch spread. Pair them with turkey bacon, chicken ham, or even a light yogurt parfait. This combination creates a hearty yet sweet selection your friends will talk about long after the gathering is over.
Serve with Hot Beverages
Completing your serving with a warm cup of tea or coffee can enhance the overall experience. How about a cozy chai latte or apple cider? These options harmonize perfectly with the flavors of the bars, making for the ideal fall or winter treat.
Remember, it’s all about balance and presentation. Get creative, and your apple bars will be the star of the show! For more serving ideas, check out Martha Stewart’s entertaining tips or Bon Appétit’s dessert pairings.
Time breakdown for Apple Bars
Preparation time
Getting started on your apple bars doesn’t take long at all—just around 20 minutes. Gather your ingredients, peel those crisp apples, and get everything prepped. This part is all about setting the stage for your mouthwatering creation, so enjoy the process!
Baking time
Once you pop your apple bars into the oven, they’ll need approximately 30 to 35 minutes to bake. This is the time to let your home fill with the delightful aroma of cinnamon and sugar, making it hard to resist sneaking a taste!
Total time
In total, you’re looking at about 60 minutes from start to finish. It’s a perfect evening recipe when you want something warm and comforting without spending all night in the kitchen. Need tips on baking? Check out this guide on baking basics! Keep this timeframe in mind, and you’re just an hour away from enjoying delicious homemade apple bars!
Nutritional facts for Apple Bars
When you’re indulging in apple bars, it’s always a good idea to know what you’re consuming. Here’s a quick breakdown of their nutritional facts to help you make informed choices.
Calories
Each serving of apple bars typically contains around 150-200 calories. This makes them a delightful treat that won’t derail your daily caloric goals, especially when enjoyed as an afternoon snack or a dessert.
Fiber content
One of the standout features of these bars is their fiber content. With about 2-3 grams per serving, they’re a great source of dietary fiber, which aids digestion and helps keep you feeling full longer. Fiber is essential for a healthy diet, making these treats not just tasty but beneficial, too.
Sugars
While apple bars naturally contain sugars from the fruits, they generally have about 10-12 grams of sugar per serving. Opting for less added sugar can enhance the natural sweetness of the apples and keep your dessert on the healthier side.
Incorporating these snack-sized delights into your routine can inspire you to make nutritious choices while still enjoying sweet treats. Plus, you can explore variations by adding nuts or oats, which can elevate both flavor and nutrition. For more information on nutrition, check out ChooseMyPlate.gov.
FAQs about Apple Bars
Can I use different types of apples?
Absolutely! One of the great joys of making apple bars is experimenting with different apple varieties. While tart apples like Granny Smith bring a zing to your bars, sweeter options like Fuji or Honeycrisp add an extra layer of flavor. You can even combine different types for a delightful mix! Just remember, the texture and sweetness will vary, so adjust sugar accordingly if you’re using particularly sweet apples.
How do I store leftover apple bars?
Storing your leftover apple bars is simple! Ensure they cool completely before wrapping them in plastic wrap or aluminum foil. You can also place them in an airtight container. Keep them at room temperature for up to three days, or refrigerate to extend their freshness for a week. If you prefer, check out The Kitchn for more tips on food storage.
Can I freeze apple bars for later?
Definitely! Freezing apple bars is a fantastic way to have a sweet treat on hand whenever cravings hit. Simply wrap the bars tightly in plastic wrap and then place them in a freezer-safe bag or container. They’ll stay fresh for up to three months. When you’re ready to enjoy them, pop them in the fridge overnight to thaw, or warm them in the oven for that freshly baked experience. Can you imagine the delightful aroma filling your kitchen?
Feel free to explore your baking creativity, and don’t hesitate to experiment with flavors and ingredients! Happy baking!
Conclusion on Apple Bars
In wrapping up our delicious journey into apple bars, it’s clear these treats are not just a dessert; they’re a delightful experience. Easy to bake and bursting with flavor, they fit perfectly into a busy lifestyle while offering a taste of home. Whether you’re enjoying them with a warm cup of coffee or sharing them with friends, these bars are sure to be a hit.
For those looking to switch things up, consider exploring variations with different spices or toppings. You can even find helpful tips on proper storage and freezing methods to enjoy your apple bars later. So, gather your ingredients, roll up your sleeves, and get baking! You’ll find that making these sweet delights is a rewarding endeavor that brings joy to both the maker and the eater. Happy baking!
For extra inspiration, check out the USDA’s guidelines on fruit storage for longer freshness or visit The Kitchn for more creative dessert ideas.
PrintApple Bars: Easy and Indulgent Recipe for a Cozy Dessert
These Apple Bars are a delightful treat, combining sweet and tart flavors with a buttery crust, perfect for any occasion.
- Prep Time: 20 minutes
- Cook Time: 45 minutes
- Total Time: 1 hour 5 minutes
- Yield: 12 servings 1x
- Category: Dessert
- Method: Baking
- Cuisine: American
- Diet: Vegetarian
Ingredients
- 2 cups all-purpose flour
- 1 cup unsalted butter, softened
- 1 cup granulated sugar
- 1/2 cup brown sugar
- 1 teaspoon cinnamon
- 1/2 teaspoon nutmeg
- 1/4 teaspoon salt
- 4 medium apples, peeled and sliced
- 1 tablespoon lemon juice
- 1 teaspoon vanilla extract
Instructions
- Preheat the oven to 350°F (175°C).
- In a bowl, combine flour, baking powder, cinnamon, nutmeg, and salt.
- In another bowl, cream together butter, granulated sugar, and brown sugar until smooth.
- Beat in the eggs and vanilla, then gradually mix in the flour mixture.
- Spoon half of the batter into a greased baking dish.
- Layer the apple slices over the batter and drizzle with lemon juice.
- Spoon the remaining batter over the apples.
- Bake for 40-45 minutes or until golden brown.
- Let cool before slicing.
Notes
- These bars are best enjoyed fresh but can be stored for a few days.
- Serve with a scoop of vanilla ice cream for added indulgence.
Nutrition
- Serving Size: 1 bar
- Calories: 250
- Sugar: 15g
- Sodium: 100mg
- Fat: 12g
- Saturated Fat: 7g
- Unsaturated Fat: 3g
- Trans Fat: 0g
- Carbohydrates: 35g
- Fiber: 2g
- Protein: 2g
- Cholesterol: 30mg
Keywords: Apple Bars, dessert, cozy dessert, recipe