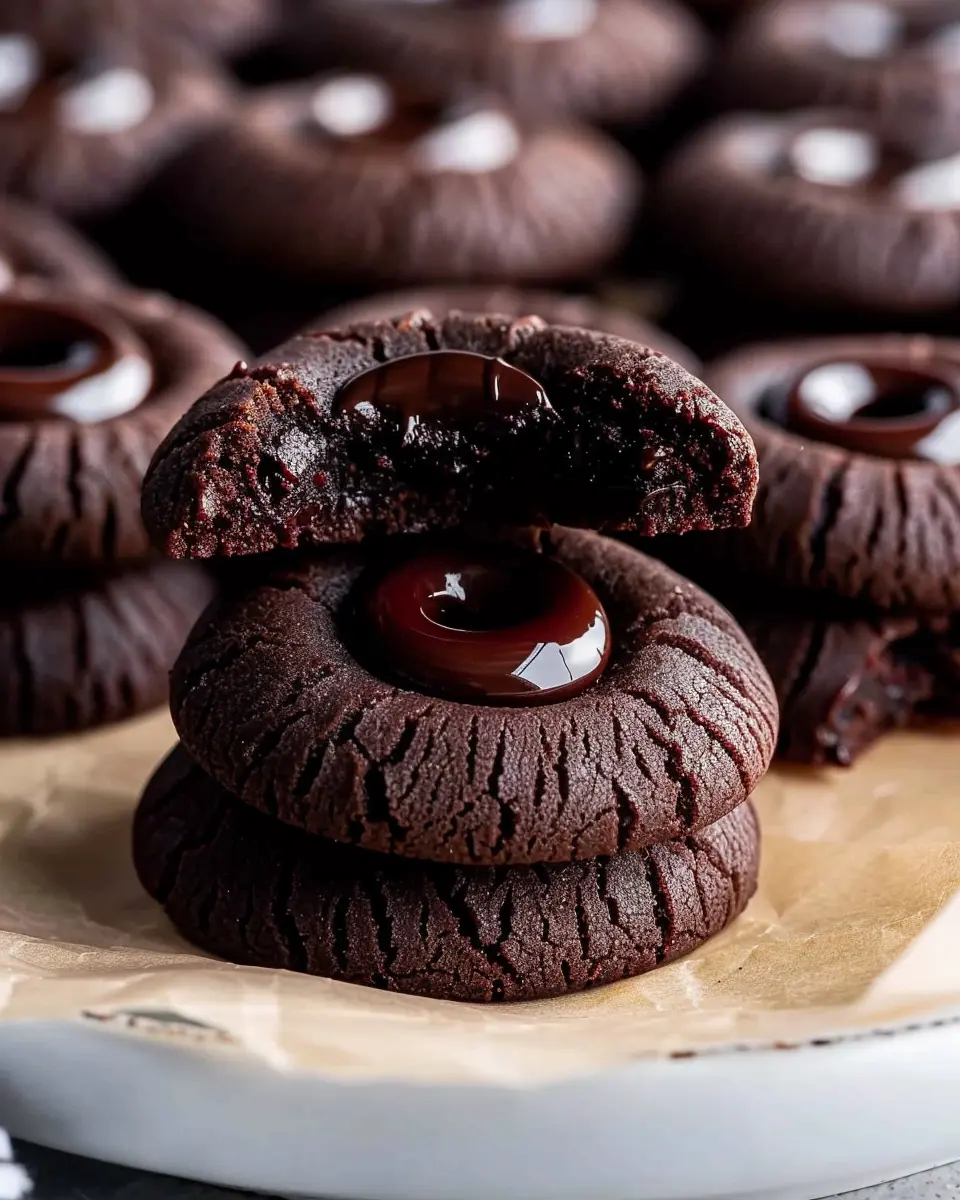
Introduction to Chocolate Thumbprint Cookies
Looking for a delightful treat that brings together the richness of chocolate and the buttery goodness of cookies? Chocolate thumbprint cookies are your answer! These little gems are not just a feast for the eyes but also a hug for your taste buds. With their sweet, gooey center and crisp edges, they effortlessly mix warmth and indulgence.
Why Chocolate Thumbprint Cookies Make the Perfect Treat
Imagine a cozy evening, perhaps you’re winding down after a long day of work, and all you need is a little pick-me-up. This is where chocolate thumbprint cookies come into play. Their design is both charming and functional — the melted chocolate in the center is a playfully sweet surprise that pairs perfectly with a steaming cup of coffee or tea.
-
Easy to Make: You don’t need to be a seasoned baker to whip these up! The ingredients are simple, and the process is straightforward, making them an ideal choice for both beginner and experienced bakers alike. You can find some handy tips on baking at Food Network to help you get started!
-
Versatile and Customizable: One of the best things about these cookies is how easily they can be customized. Add your favorite nuts, sprinkle some sea salt on top, or even switch up the filling with homemade jams or alternative chocolates. You could even check out recipes on Serious Eats for more creative filling ideas!
-
Perfect for Any Occasion: Whether you’re hosting a gathering, planning a holiday treat, or simply want to indulge yourself, these cookies fit the bill. They bring an air of sophistication without demanding too much work from you. Plus, they make for thoughtful homemade gifts as well!
In a world where sweetness and comfort sometimes feel hard to find, chocolate thumbprint cookies stand out as a joyful, easy-going delight. So, roll up your sleeves and get ready to bake a batch that’s sure to impress! Can you feel your sweet tooth tingling? Let’s dive into the details and get you started on this delicious baking adventure.
Ingredients for Chocolate Thumbprint Cookies
Key Ingredients for the Cookies
When it comes to making chocolate thumbprint cookies, the right ingredients can make all the difference. Here’s what you’ll need to whip up these delightful treats:
- All-purpose flour: 1 ¾ cups for that perfect cookie base
- Unsweetened cocoa powder: ½ cup to give that rich chocolate flavor
- Granulated sugar: 1 cup for sweetness and structure
- Brown sugar: ½ cup adds moisture and depth
- Salt: ½ teaspoon to enhance all the flavors
- Baking powder: ½ teaspoon to help those cookies rise
- Butter: ½ cup (softened) for a rich, buttery texture
- Egg: 1 large, to bind everything together
- Vanilla extract: 1 teaspoon for a touch of warmth
Ingredients for the Chocolate Ganache
No chocolate thumbprint cookies are complete without a luscious ganache! Here’s what you’ll need:
- Heavy cream: ½ cup for that silky smooth texture
- Dark chocolate chips: 1 cup for a decadent coating
- Butter: 1 tablespoon to add shine and richness
These ingredients are pretty standard, but their combination creates a delicious cookie experience that you and your friends will rave about. For further inspiration on baking techniques, check out King Arthur Baking. Happy baking!
Preparing Chocolate Thumbprint Cookies
Baking chocolate thumbprint cookies is a joyful experience that brings out the inner chef in everyone. Whether you’re making them for a cozy night in or to share with friends at a gathering, these cookies are sure to delight with their rich chocolate flavor and creamy ganache filling. Follow along as we break down the process step-by-step, ensuring you create the perfect batch.
Gather Your Ingredients
Before we dive into the mixing and baking, it’s essential to gather all your ingredients. Here’s what you’ll need:
-
Dry Ingredients:
-
1 cup all-purpose flour
-
1/3 cup unsweetened cocoa powder
-
1/4 tsp baking powder
-
1/4 tsp salt
-
Wet Ingredients:
-
1/2 cup unsalted butter, softened
-
1/2 cup granulated sugar
-
1/4 cup brown sugar, packed
-
1 large egg yolk
-
1 tsp pure vanilla extract
-
For the Ganache:
-
1/2 cup semi-sweet chocolate chips
-
1/2 cup heavy cream
Having everything prepped makes the process smooth and enjoyable. Are you ready to roll up your sleeves?
Mix the Dry Ingredients
Start by whisking together your dry ingredients. In a medium bowl, combine the flour, cocoa powder, baking powder, and salt. This step is crucial because it ensures that the leavening agent (baking powder) is evenly distributed throughout your cookie mix. A professional tip: sifting the cocoa powder can help eliminate any lumps.
Cream the Butter and Sugars
In your stand mixer or a large bowl with a hand mixer, cream together the softened butter, granulated sugar, and brown sugar. Mix on medium speed until the mixture is light and fluffy—about 3-4 minutes. This step is fundamental for creating the right texture in your cookies. Want to ramp up the flavor? Adding a pinch of salt during this phase enhances the sweetness.
Combine the Wet and Dry Ingredients
Once your butter and sugars are creamy, add the egg yolk and vanilla extract, and mix until well combined. Gradually incorporate your dry mixture into the wet ingredients. Mix until just combined; avoid overmixing, as this can lead to tougher cookies.
Shape the Dough and Create Indents
Now, it’s time to get your hands a little messy! Scoop about a tablespoon of dough and roll it into balls. Place them on a baking sheet lined with parchment paper. Using your thumb or the back of a measuring spoon, create a small indent in the center of each dough ball. This little dip is where the rich ganache will sit—a perfect treat!
Chill the Dough
Chilling the dough is a simple but essential step. Pop your nestled cookie dough into the refrigerator for at least 30 minutes. This allows the flavors to meld together and firms up the dough, preventing the cookies from spreading too much in the oven.
Bake the Cookies
Preheat your oven to 350°F (175°C). Bake the chilled cookies for about 10-12 minutes or until they are just set. It’s important not to overbake them; they should still look a bit soft in the center. Allow them to cool on the baking tray for a few minutes before transferring them to a wire rack.
Make the Chocolate Ganache
While your cookies cool, make the chocolate ganache. Heat the heavy cream in a small saucepan over medium heat until it just begins to simmer. Remove it from the heat and stir in the chocolate chips until melted and smooth. This luscious ganache is what makes your chocolate thumbprint cookies irresistibly delicious.
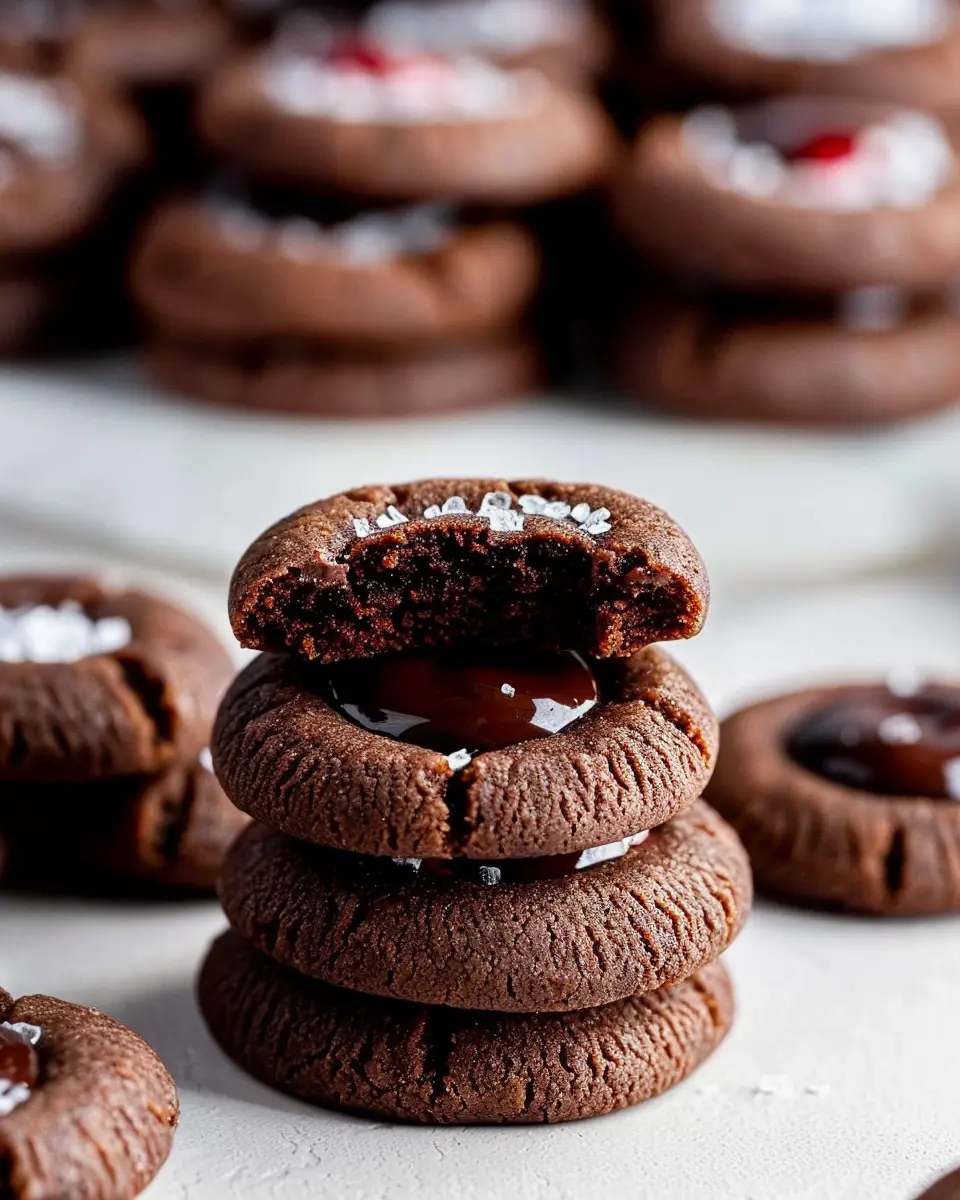
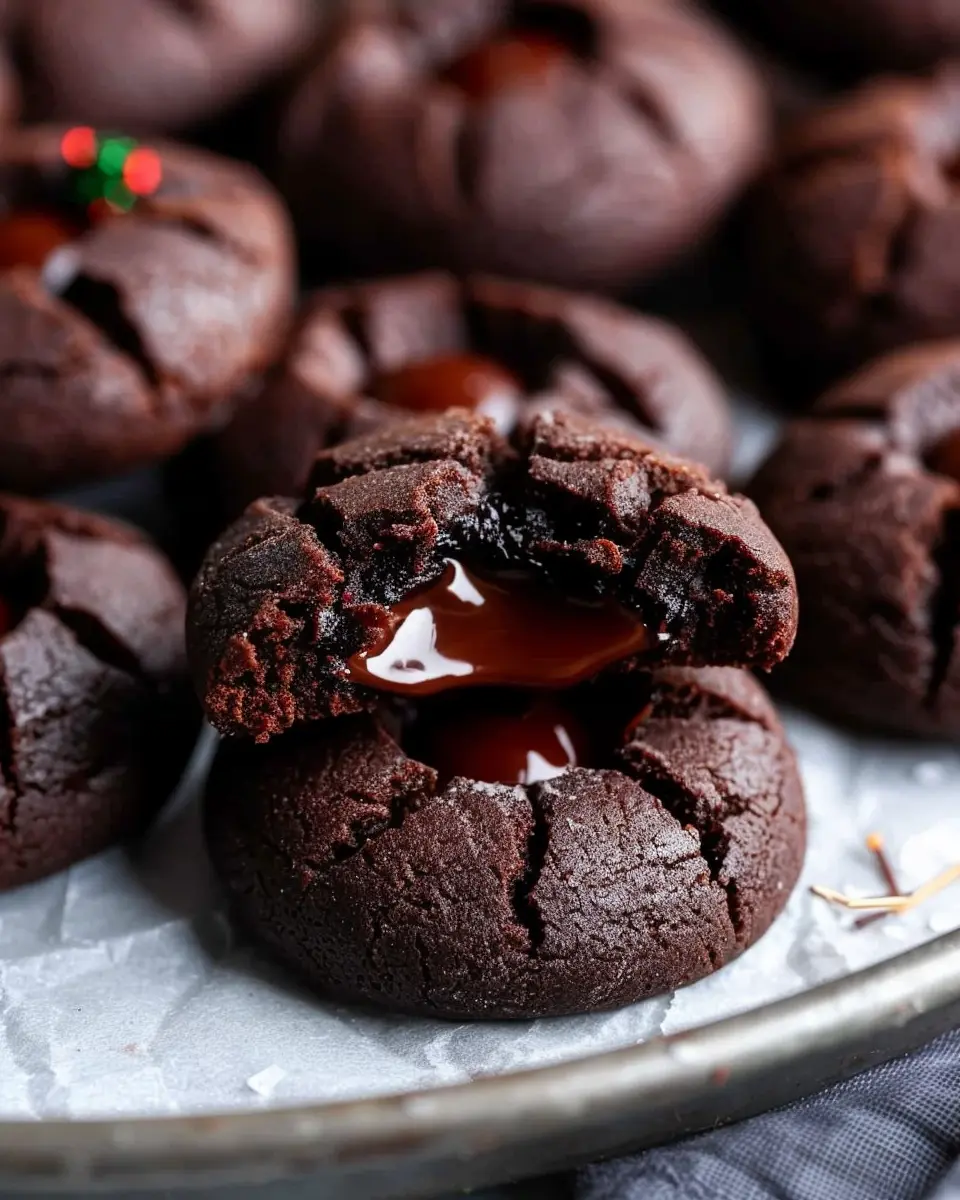
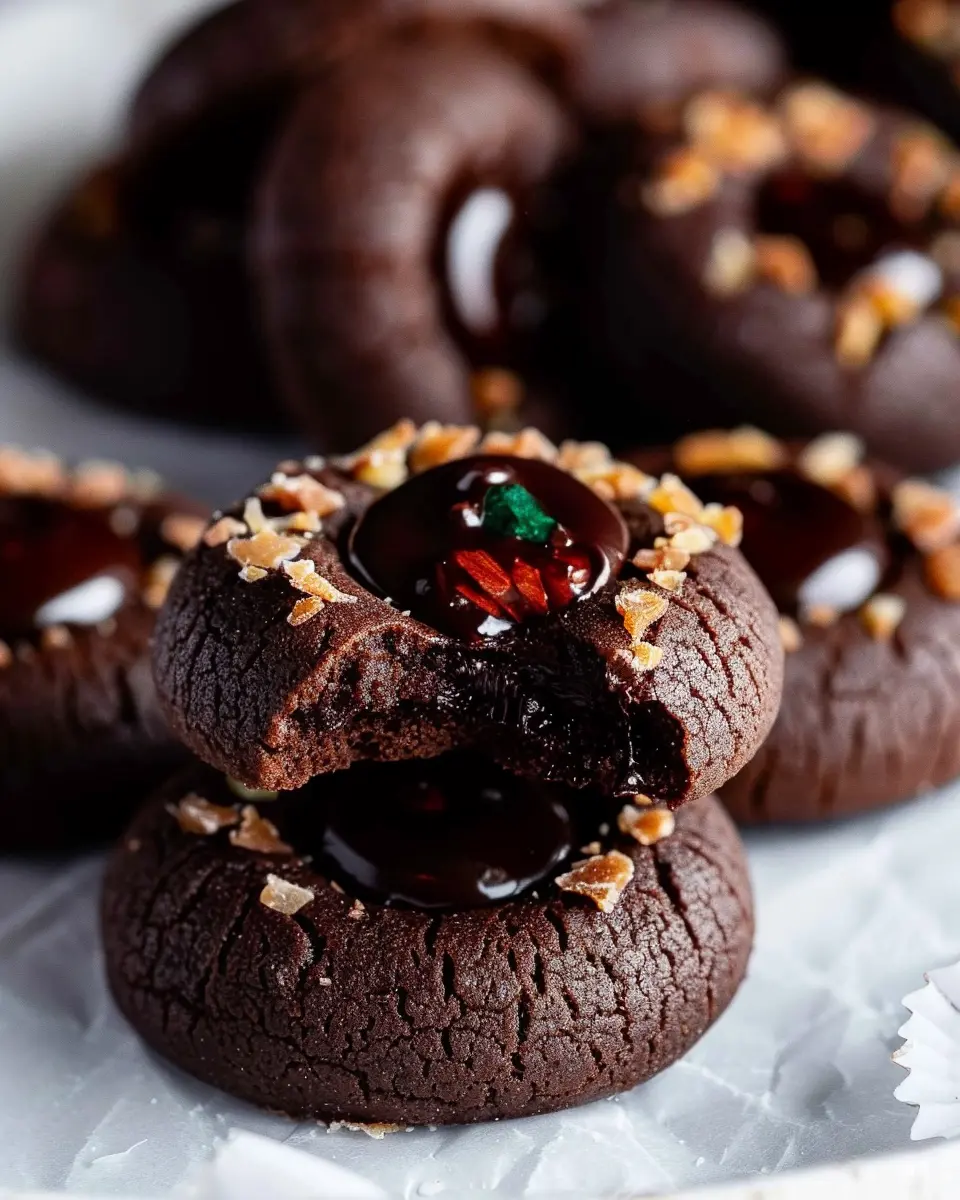
Assemble and Decorate the Cookies
Once the cookies are completely cooled, fill each indent with the chocolate ganache. You can decorate with a sprinkle of sea salt or a dusting of cocoa powder for that extra touch. Not only does it enhance their appearance, but it also elevates the flavor profile.
With just a bit of patience and these easy steps, you’ll have a delightful batch of chocolate thumbprint cookies that are as beautiful as they are tasty. Enjoy them fresh, or store them in an airtight container for up to a week—if they last that long! Happy baking!
Variations on Chocolate Thumbprint Cookies
When it comes to chocolate thumbprint cookies, the classic recipe is just the starting point. You can easily switch things up to cater to different tastes and dietary preferences. Here are two delightful variations that are sure to impress your friends and family.
Nutty Chocolate Thumbprint Cookies
For those who adore a crunchy texture, try adding some chopped nuts to your chocolate thumbprint cookies. Whether you prefer walnuts, pecans, or almonds, the addition of nuts enhances both flavor and crunch. Here’s an easy way to make these cookies:
- Prepare the Dough: Follow the traditional chocolate cookie dough recipe.
- Add Nuts: Incorporate ½ cup of finely chopped nuts into the dough.
- Fill with Nut Butter: Instead of jam, fill the thumbprint with a dollop of your favorite nut butter, like almond or hazelnut. This adds a creamy contrast that balances the richness of the chocolate.
The nutty element adds depth, making each bite satisfyingly rich.
Fruity Chocolate Thumbprint Cookies
If you’re craving something vibrant, fruity variations of chocolate thumbprint cookies can be a game changer. The natural sweetness of fruit complements the chocolate perfectly. Here’s how to create this version:
- Select Your Fruit: Choose fruit preserves or curds like raspberry, strawberry, or even orange zest.
- Mix it up: Use the basic thumbprint recipe but fold in some citrus zest or a few tablespoons of fruit puree to the dough for an unexpected twist.
The burst of fruity flavor contrasts beautifully with the smooth chocolate, making each cookie a delightful surprise.
Explore these variations and unleash your creativity. You might find yourself inventing a new favorite twist on the classic chocolate thumbprint cookies! For more ideas, check out resources like King Arthur Baking or Bon Appétit for inspiration.
Baking Tips for Chocolate Thumbprint Cookies
Measuring Flour Correctly
When it comes to baking chocolate thumbprint cookies, accurate measurements are crucial. A common mistake is scooping flour directly from the bag, which can lead to using too much. Instead, spoon the flour into your measuring cup and level it off with a flat edge. This simple technique ensures your cookies have the perfect texture—soft and chewy, rather than dry and crumbly. For more precise measurements, consider investing in a kitchen scale, which many bakers swear by.
The Importance of Chilling the Dough
Don’t skip the chilling step! Refrigerating your dough for at least 30 minutes not only makes it easier to handle but also helps the cookies maintain their shape while baking. The fats solidify, preventing excessive spreading that can ruin the beautiful thumbprint. Many baking experts, like those at King Arthur Baking, emphasize that this resting period allows the flavors to meld beautifully, resulting in a more delicious cookie. Just imagine biting into that perfectly shaped chocolate thumbprint cookie—you won’t regret the wait!
Serving Suggestions for Chocolate Thumbprint Cookies
Pairing with Coffee or Tea
When it comes to chocolate thumbprint cookies, the right drink can elevate your snacking experience. Whether you’re enjoying a cozy afternoon or catching up with a friend, pairing these cookies with a rich cup of coffee or herbal tea can do wonders. For coffee lovers, think about a bold espresso or a creamy latte to complement the chocolatey goodness. If tea is more your style, try a soothing chamomile or a spiced chai. The warmth and flavors from the beverages beautifully balance the sweetness, creating a delightful treat.
Serving at Parties and Gatherings
Planning a get-together? Chocolate thumbprint cookies can be a showstopper on any dessert table! Consider creating a dessert platter with a variety of treats—think mini cheesecakes or fruit tarts—while integrating your cookies for a personalized touch. You could even host a cookie decorating party where friends can bring their favorite jams to fill the thumbprints. Not only does this turn your cookies into a fun and interactive dessert, but it also makes for a memorable experience! For more tips on hosting, check out resources from Bon Appétit.
Time Breakdown for Chocolate Thumbprint Cookies
When you’re aiming to whip up some delightful chocolate thumbprint cookies, knowing your time commitment is key. Here’s a quick breakdown to keep you on track.
Preparation Time
Getting everything ready will take about 20 minutes. Gather your ingredients, preheat the oven, and you’ll be all set to dive into mixing those delicious flavors on your baking adventure.
Baking Time
Once your cookie dough is prepped and the chocolate filling is ready, bake those cookies for approximately 12 to 15 minutes. You’ll love watching them puff up nicely while they’re in the oven!
Total Time
In total, you’re looking at around 35 to 40 minutes from start to finish. This makes them perfect for a last-minute treat or a cozy baking session on a weekend.
If you’re curious about mastering other easy dessert recipes, check out this fantastic guide. You’ll find plenty of inspiration to keep your kitchen buzzing with flavor!
Nutritional Information for Chocolate Thumbprint Cookies
If you’re indulging in homemade chocolate thumbprint cookies, it’s always good to know what you’re getting! Here’s a quick breakdown of their nutritional profile, ensuring you enjoy them responsibly.
Calories
Each cookie typically contains around 120 calories. Perfect for a treat, but remember that moderation is key!
Protein
You can expect about 2 grams of protein per cookie. While not a primary source, every bit helps when you’re satisfying that sweet tooth!
Sugar Content
With around 8 grams of sugar in each cookie, these delightful bites deliver a satisfying sweetness. For alternatives, consider using less sugar or exploring natural sweeteners in your baking.
If you’re interested in making health-conscious choices while baking, check out resources like the American Heart Association. Enjoy your baking adventure!
FAQs about Chocolate Thumbprint Cookies
Can I use different types of chocolate?
Absolutely! One of the joys of making chocolate thumbprint cookies is the versatility they offer. You can experiment with dark, milk, or even white chocolate for the center filling. Each type brings its own flavor profile; for instance, using dark chocolate gives a richer taste, while milk chocolate will add a creaminess that’s simply delightful. If you’re feeling adventurous, try incorporating flavored chocolates like orange or mint for a unique twist!
How do I store leftover cookies?
Leftover cookies? Lucky you! Store your delicious chocolate thumbprint cookies in an airtight container to keep them fresh. They can sit comfortably at room temperature for about a week. If you happen to have filled them with jam, remember to keep them in the fridge to maintain optimal freshness. However, if you find yourself with more cookies than you can eat, you may need to consider freezing them!
Can I freeze these cookies for later?
Yes, you can! Freezing is a fantastic way to preserve your chocolate thumbprint cookies. Simply place them in a single layer on a baking sheet to freeze them first, then transfer them to a freezer-safe container or Ziplock bag once they’re firm. They can usually last for up to three months in the freezer. When you’re ready to indulge again, just let them thaw at room temperature, and voila! You have ready-to-eat cookies anytime.
For more on chocolate storage tips and cookie variations, you can check resources like the American Institute of Baking or The Chocolate Life. Happy baking!
Conclusion on Chocolate Thumbprint Cookies
The Joy of Homemade Cookies
There’s something truly magical about baking chocolate thumbprint cookies in your own kitchen. The aroma that wafts through your home can turn an ordinary day into a celebration. No need to go out when you can create these delightful treats right at home. Plus, they make perfect gifts, whether for friends or as a sweet surprise for the office.
By following the recipe, not only do you indulge in an irresistible flavor experience, but you also gain a sense of accomplishment. So grab your ingredients, preheat that oven, and let the joy of homemade cookies brighten your day! For more inspiration, check out sites like Serious Eats and Bon Appétit for tips on elevating your baking game.
PrintChocolate Thumbprint Cookies: The Best Indulgent Treats for Any Occasion

These Chocolate Thumbprint Cookies are the perfect combination of rich chocolate and sweet filling, making them an indulgent treat for any occasion.
- Prep Time: 15 minutes
- Cook Time: 15 minutes
- Total Time: 30 minutes
- Yield: 24 cookies 1x
- Category: Desserts
- Method: Baking
- Cuisine: American
- Diet: Vegetarian
Ingredients
- 1 cup unsalted butter, softened
- 1 cup granulated sugar
- 2 large eggs
- 2 teaspoons vanilla extract
- 3 cups all-purpose flour
- 1 cup unsweetened cocoa powder
- 1 teaspoon baking powder
- 1 teaspoon salt
- 1 cup chocolate ganache or filling of choice
Instructions
- Preheat the oven to 350°F (175°C).
- In a large mixing bowl, cream together the softened butter and granulated sugar until light and fluffy.
- Beat in the eggs one at a time, then stir in the vanilla extract.
- In a separate bowl, whisk together the flour, cocoa powder, baking powder, and salt.
- Gradually add the dry ingredients to the wet ingredients, mixing until just combined.
- Roll the dough into 1-inch balls and place them on a baking sheet lined with parchment paper.
- Make an indentation in the center of each cookie using your thumb.
- Fill each indentation with chocolate ganache or your preferred filling.
- Bake for 12-15 minutes, then let cool on a wire rack.
Notes
- For additional flavor, consider adding a pinch of espresso powder to the dough.
- Ensure that the cookies are completely cooled before filling them.
Nutrition
- Serving Size: 1 cookie
- Calories: 150
- Sugar: 10g
- Sodium: 50mg
- Fat: 8g
- Saturated Fat: 5g
- Unsaturated Fat: 3g
- Trans Fat: 0g
- Carbohydrates: 18g
- Fiber: 1g
- Protein: 2g
- Cholesterol: 30mg
Keywords: Chocolate Thumbprint Cookies, cookies, chocolate desserts